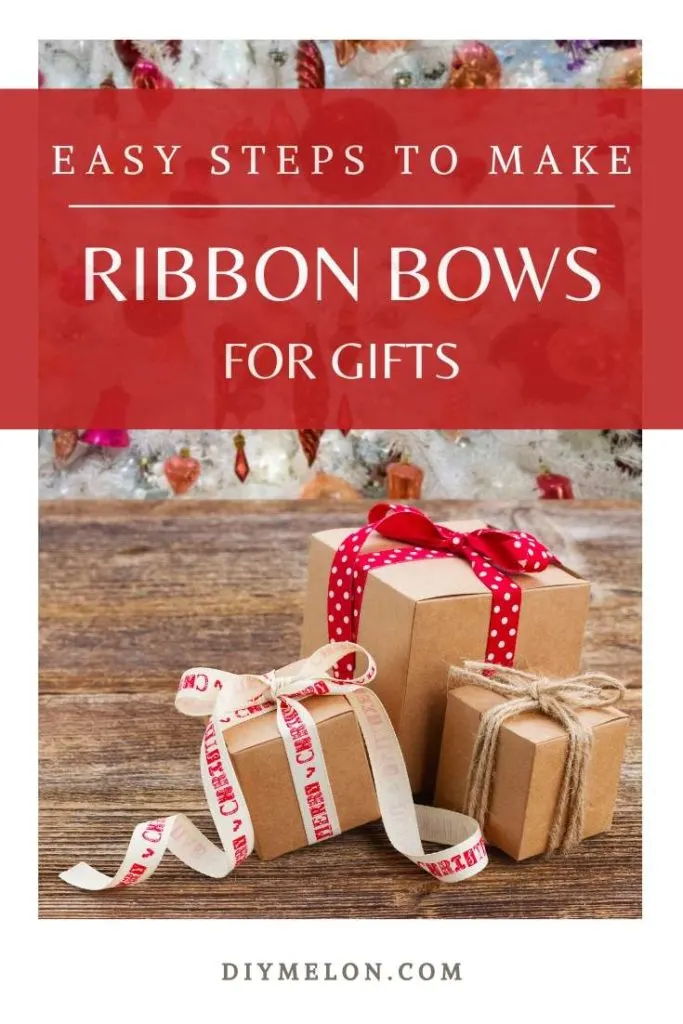
When you wrap any gift with a ribbon bow, it will look far better and attractive than otherwise. If you are planning on giving a birthday gift to your friend or a family member, you better make the gift box look pretty. You should know how to make ribbon bows for gifts as this skill will help you whenever you need to give a present to someone.
There are different types of ribbon bows you can make to wrap a gift. If you are interested in knowing the different ways to make ribbon bows for gifts, you will need to go through the step by step guide mentioned below. You can easily make a homemade bow from a ribbon.

How to Make Ribbon Bows for Gifts in 7 Steps
Step 1: Cut a long ribbon to tie a simple bow
The first thing that you will need to do is to cut a long ribbon. Use a small scissors to cut the ribbon. The length of the ribbon depends on how large you want to make the bow. However, it is better to take a long size as you might be needing it later. You can use a thin ribbon or the regular ones as well. You can use a printed ribbon or the ones with one color. Many people use flowers to attach with the bows to make the gift box look more beautiful.
Step 2: Lay the ribbon on a flat surface to make the bow
Now, take the ribbon and lay it on a flat surface. Hold the tails of the ribbon with your two hands and bring the tails in the middle. Make sure that the tails overlap. There will be two loops once you overlap the ribbons.
Make sure that the loops are symmetrical and are of the same size. Now, pull one loop through another and tighten the loops. It is the simplest method of making a ribbon bow. If you don’t want to spend too much time on this, it is probably the best solution for you.
Step: 3 Make a wired ribbon bow if you find the first method too difficult
You can also a wired ribbon instead of the regular ones. Making a ribbon bow with wire is easier because you get to tie the bow so that it doesn’t get displaced. To make a wired ribbon bow, the first thing that you will need is two make the bow. Follow the previous steps to make the bow. At first, lay the ribbon on a flat surface and make two loops. Once you are done making the loops, check if both loops are symmetrical.
Step 4: Hold the center of the two loops and tie a wire
You will need a thin wire to secure the loop. Hold the middle of the bow with your hand and wrap a wire around it. Now tie a knot with the wire so that it doesn’t get displaced. You can also use tape as an alternative. Make sure that you cut the tape small so that it doesn’t get visibility from outside. Now, adjust the loops of the ribbon bow so that it looks symmetrical.
You can make a ribbon bow without wire, as well. These types of ribbons are mostly used for wreaths. But you can use these for gift wrapping as well. If you can’t do this step your own, take help from a friend.
Step 5: Make a bow for a rectangular or square gift box
This method is applicable, particularly if you want to make a ribbon bow to wrap a gift box. The first thing you will need to do is to cut the ribbon according to the size of the box. Take a long ribbon and wrap it around through its height and width.
You will need some additional parts of the ribbon to make the bow. So, add around 20 to 25 inches with the measurement you got. You can choose any type of ribbon based on your preference. Make sure that the color and texture of the ribbon complement the gift box.
Step 6: Wrap the gift box with the ribbon
Now, place the box at a flat surface and start wrapping the box vertically from the top of the box. Make sure that you are using the glossy side of the ribbon. After wrapping the box from each side, bring the tails of the ribbon at the top. Make two loops with the ribbon tails.
Now, you will need to tie the two loops to make a ribbon bow. Fold the loops together so that the loops overlap. Now pull outside, and your bow will be ready. The next step is to adjust the loops and trim the ribbon tails.
Step 7: Trim the ribbon tails and add accessories
The final step is to trim the ribbon tails. Use a scissor to cut the tails at a 45 degrees angle. You will need to make sure that the two loops of the ribbon are of the same size. If the size of the loops is not similar, the gift box will lose its attraction. If the loops are not symmetrical, pull one loop, which seems smaller. To wrap gift boxes, you should better use the usual ribbons than the thin ones. You can also add other accessories like flowers or beads at the top of the bow.
The best trick to make a ribbon bow look beautiful is to match the right color with the gift box. For example, if you are planning to use dark green with hot pink, it will never look good. Choose a subtle color to wrap your gift box and wrap it with a ribbon, which has a vibrant color. The contrast colors will bring an edge to your gift and make it stand out.
If you follow these steps, you will be able to make a ribbon bow to decorate your gift box. Gift boxes look incomplete without a ribbon bow on top of it. Make a beautiful homemade ribbon bow to surprise your close one.