Tulle bows are mostly used to make headbands, especially for baby girls. Also, a tulle bow can be placed on a top of a gift box wrapped with a ribbon. You should know how to make a tulle bow if you want to make a baby headband. Tulle bows can be made quite easily if you know the correct way to do it. Many people say that it requires a lot of time and energy to make a perfect tulle bow. But it is not a complicated process.
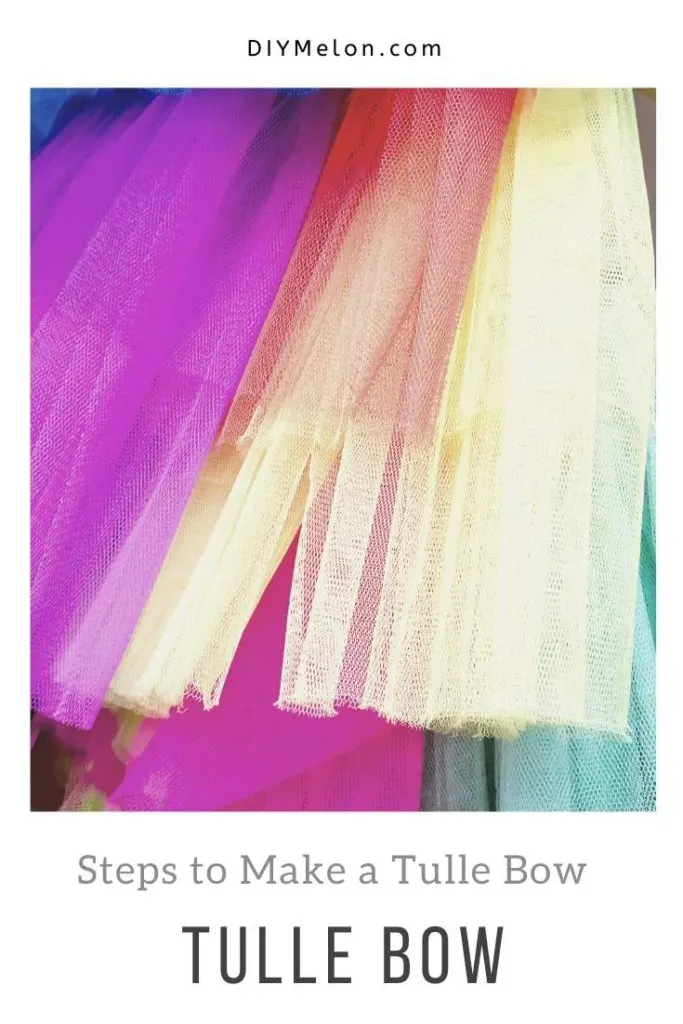
Tulle is a very good fabric to make a bow. A lot of people prefer tulle fabric over other materials to make a bow as tulle is very lightweight as well as affordable. This fabric made with net gives the bow a beautiful and neat look. Also, tulle fabric comes in various colors, which makes it easy to match with your baby’s dress.


One of the best features of the tulle fabric is that it will not get any wrinkles. With the right supplies and tools, you can make a tulle bow on your own. We have provided a step by step guide which will help you to create a tulle bow easily.
How to Make a Tulle Bow
Step 1: Gather the necessary supplies
The first thing you will need to make a bow is a 6 inches spool of tulle. There will be a hundred different colors available in the shop. You can pick a few vibrant colors if you are making a baby bow. For example, you can choose a few spools of tulle which come in red, blue, pink and yellow color. Then, you will need a headband. If your baby is too young to wear a headband, you can use the tulle bow in a clip as well.
On the other hand, if you are making a tulle bow for using to decorate a gift box, you will need to buy or make a matching ribbon bow. You will need a scissor and a rule or tape, as well. If you want to make the bow gorgeous, you will need a few decorative centers. Lastly, you will need cardboard and glue.
Step 2: Decide the size of the tulle bow
It is crucial to decide how big you want to make it. If you are making a baby headband for your toddler, you wouldn’t want it too big to fit on her hair. On the other hand, if you are making one to use on a gift box, you can make it based on the size of the gift box. Make sure that the bow complements the gift box or the baby headband well.
Step 3: Cut a hardboard based on the size of the tulle bow
The next thing you need to do is to take a piece of cardboard. Now, cut it based on the size of the tulle bow. For example, if you are planning to create a bow of around 5 inches, you will need to cut cardboard, which has a size of at least 4.5 inches across. The bow needs to be around half inches wider compared to the cardboard. Also, you will need to make sure that you use a soft hardboard. If you cannot bend the hardboard, then there is no benefit of using one.
Step 4: Cut the tulle bow according to your preference
As said earlier, you will need to decide the size of the bow. After you are done determining the size of the bow, it is time to cut it. Use a scissor and cut the tulle. If you are confused about how much tulle you should cut for a bow, we are here to help you. The size of a tulle bow is usually around 4 to 7 inches. Based on the size of the bow, you will need to cut the tulle fabric. If you need a 4 inches bow, you will need to cut around 2 yards of tulle.
On the other hand, if you need a 7 inches tulle bow, you will need to cut three and a half yards of tulle. To wrap the center of the bow, you will need to cut a strip as well. Cut a piece around 10 inches long. It will be large enough to tie at the center.
Step 5: Wrap the tulle around the cardboard
Now, you will need to wrap the tulle around the cardboard you cut earlier. You will need to cover the tulle as it is. There will be some extra inches of tulle hanging around the edges because the cardboard was cut smaller in size. If you find it hard to keep the tulle tightly wrapped around the cardboard, you can use tape. Using tape will make sure that the tulle stays right in its place.
Step 6: Bend the cardboard on the center
You will need to mark the cardboard before wrapping the tulle fabric around it. If you haven’t marked the cardboard, you can use a ruler to find the middle point of the cardboard. Now, bend the cardboard in the middle. You can also use a book as an alternative to cardboard. After bending the cardboard, you will need to pull it out. Make sure to hold the tulle tightly so that the folding doesn’t get displaced.
Step 7: Use your fingers to squish the tulle at the middle
Now, you will need to use your fingers so that you can bring the edges in the middle. You can use the tip of your fingers to hold the tulle. Make sure that you hold the tulle right at the center. Now, tie the center with the strip you cut earlier. Attach the bow at a headband or a clip. You can also add some decorative centers on the bow.
That is how you can make a simple bow by following a few steps. It is a very simple process if you know the right technique to do it.