Burlap wreaths have become very common nowadays. The unique texture of burlaps provides a rustic look to the wreaths for any decoration. You can use a burlap wreath to decorate your door and fireplace during occasions like Christmas, 4th of July, or Halloween. You should know how to make a ruffled burlap wreath if you want something unique this Christmas.
These ruffled burlap wreaths are quite easy to make if you have the right supplies with you. The theme of the wreath depends on your preference. There are hundreds of different ideas through which you can decorate a ruffled burlap wreath. You can even add little accessories like flowers, ribbons, and beads to the wreath. We will suggest you a step by step guide which will help throughout the process of making a ruffled burlap wreath.

How to Make a Ruffled Burlap Wreath
Step 1: Use a Styrofoam wreath
You can purchase a Styrofoam wreath to use as a base for the ruffled burlap wreath. These wreaths usually come with a plastic cover. You will need to remove the plastic cover at first. If the plastic cover is colorful, this step is a must. In the case of colorful plastic covers, the cover will be shown from the outside.
The color of burlaps is usually light brown or white. If there is a dark color beneath the burlap, it will make the whole wreath look bad. It is a good idea to use a white Styrofoam wreath, which will make the color of the burlap look better.
Step 2: Cut the burlap and wrap it around the Styrofoam
After purchasing a Styrofoam wreath and burlap, you will need to wrap the burlap around the Styrofoam. You will need around 11 to 12 yards of burlap for a typical Styrofoam. It is always better to purchase more so that you can use later if you need extra.
However, start wrapping the burlap from one side of the Styrofoam. Make sure that the burlap is tight enough on the Styrofoam. After you are done the wrapping, you will need to fix it with a stapler. Staple the two ends of the burlap at the end so that it doesn’t get displaced from the Styrofoam.
Step 3: Cut at least 20 inches long strips to make the ruffled burlap
Now, you will need to make the ruffled burlap. The success of this step will depend on how precisely and carefully you make the ruffled burlaps. If you can follow the correct technique, you will have a beautiful result. You might need more than one attempt to make it perfect.
One way to be successful while making a ruffled burlap is to be patient. At first, you will need to cut a few strips with a length of 20 inches. Then, you will need to fray the edges of the strips. You can do it by simply pulling the strings.
Step 4: Pull out a string from the middle of the burlap
Find a string in the middle of the burlap. You won’t need to be precise while doing this. Make a guess and choose one string from the middle. Now, pull the string from the strip. Don’t pull the string all the way to the end. While pulling the string, you will need to push the ruffle forward simultaneously. It is a quite simple step as long as you don’t pull the string from the strip all the way to the end.
Step 5: Use a stapler to attach it with the wreath
After you are done making the ruffled burlap, you will need to attach it to the Styrofoam with a stapler. Make a few ruffled burlaps and attach all these to the wreath in the same way. You will probably need 16-18 ruffled burlaps to cover the whole Styrofoam. If you are done, let’s move on to the next step.
Step 6: Add accessories to the wreath
Now it is time to decorate the wreath. You will need a glue stick to attach the accessories to the ruffled burlap wreath. For example, you can attach little Christmas accessories in the wrath like your Christmas tree. You can add a peppermint candy cane on one side of the wreath.
Then, you can add spooky accessories for Halloween. Buy a few fake spiders and spider web for the wreath. You can also find little fake pumpkins during the season of Halloween.
Step 7: Make a bow with a ribbon and attach it to the ruffled burlap wreath
You can also make 2 or 3 colorful bows for attaching in the wreath. To make a bow, you will need a few ribbons of different colors. Then, you will need a scissor and a glue stick. After making a bow, glue the middle of the bow where the strips of the ribbon intersect. Use a scissor to cut the end of the ribbon in an angle shaped. Use a few colors of ribbons depending on the occasion.
Step 8: Add artificial flowers to increase the beauty of the wreath
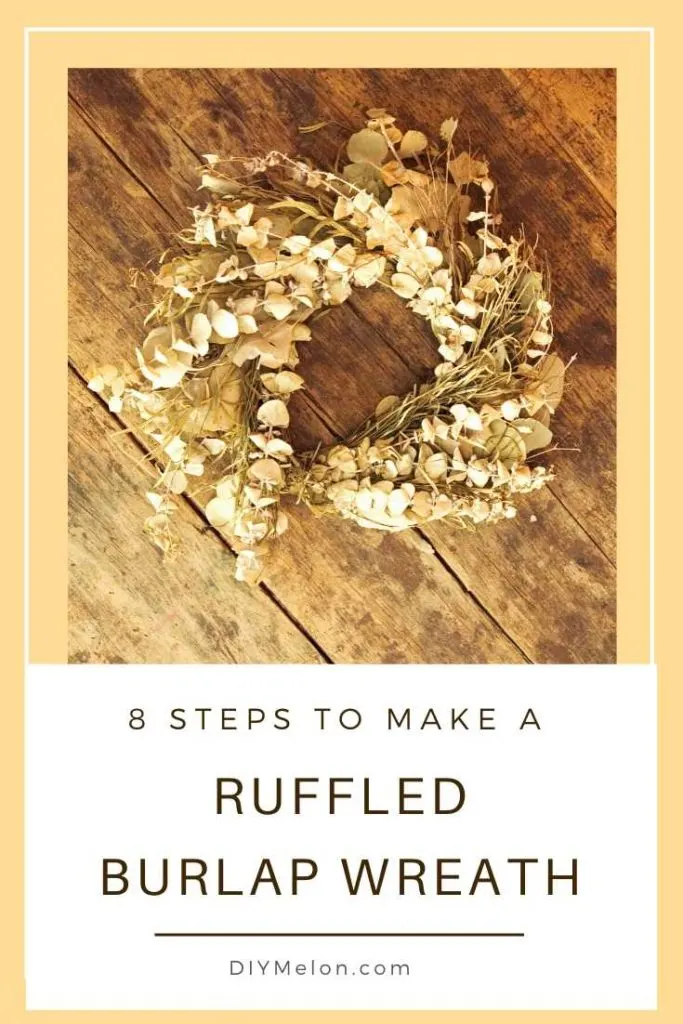
There is no alternative to using flowers when it comes to decorating something. You can use a few artificial flowers to decorate the wreath. You can choose the small ones so that the flowers don’t cover the full wreath. Then, add some greenery as well.
For example, you can attach the flowers on the right side of the wreath. On the other side, you can attach a few colorful bows made from ribbons. Always use a glue stick to attach the accessories to the wreath. Using normal glue will not be strong enough to hold the accessories if these are heavy.
If you follow this step by step guide, you will have a beautiful ruffled burlap wreath. It is important to be precise while making a ruffle burlap wreath for the occasion. After you are done, you can hang the wreath in your front door. You can also add other accessories if you want. As told earlier, the decoration depends on the occasion as well as your preference.