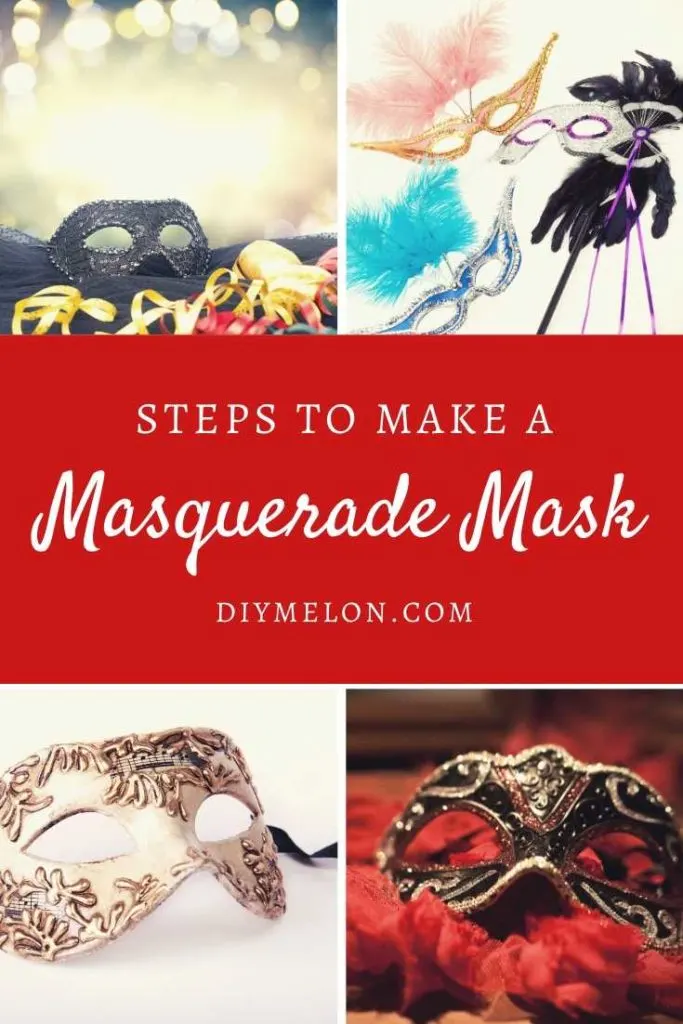
People used to wear masquerade masks during carnival in the past. Today, these masks are used in many parties. These masks are worn mainly during a masquerade ball. If you have a party ahead of you, it is important for you to know how to make a masquerade mask. Masquerade masks can be of different sizes and shapes. You can customize a mask by matching it with your outfit. 
A masquerade mask can symbolize different meanings. For example, a red mask symbolizes you are vigorous and powerful. On the other hand, a black mask symbolizes dignity and elegance. You can choose a color based on your personality. You can make a masquerade mask in a few ways. You can make a paper mask or a Venetian mask, as well. Below, we have provided a step by step guide that will help you to make a mask for your upcoming party.
How to Make a Masquerade Mask
Step 1: Choose the design of the masquerade mask
If it is your first time making a masquerade mask, then choose a simple design. There are many different designs available online. You can always look for one based on your preference. So, choose a template to make a mask. You will also need to measure the size of the mask.
Regular masquerade masks usually cover both eyes and eyebrows. It will cover a part of your cheekbones as well. Once you have chosen the template, it is time to draw the outline in a piece of paper. You can use a pencil to draw the outline. Draw the little details as well. You can also print the outline as an alternative.
Step 2: Purchase a cardstock to make the masquerade mask
You can find cardstocks in your nearby art and crafts store. If the mask is made of cardstock, it will be stronger and more robust. You can use a letter-sized paper to print the mask. Regular A4 paper might not be enough to make a mask. If you have a printer that accepts cardstock papers, print directly on this paper. It will be easier for the next steps.
Step 3: Add the details and cut the mask
You will need to draw the details in the masquerade mask. Use a pencil to draw the details on the paper. Take time so that you can focus on the little details. Then, you can attach starts, swoops, and flames. Attaching swoops and flames will make the masquerade mask more beautiful. You will need to cut the mask based on the outline after you are done adding the details.
Use small and sharp scissors to cut the paper. It is crucial to use a good scissor because you would not want any snags in your masquerade mask. Keep some space left on both sides of the mask to attach a band. You will later glue the band.
Step 4: Use acrylic paint for painting the masquerade mask
Once you are done cutting the masquerade mask, it is time to paint the mask. Different colors will symbolize different meanings. You can use a particular color that will dominate the other colors. And then you can add a few extra colors to the little details. You will need to be careful while painting the masquerade mask because once you start painting, you cannot undo it. Before applying the painting, mix it with water so that the color doesn’t stay in one place.
At first, use a thin paintbrush to paint the outlines of the mask. Then, cover the rest of the space. As you will be using acrylic paint, you will need to be careful. Wait for a few minutes after painting one section. Let it dry fully and then move onto another section. Don’t put your finger on the wet color because you will smudge the whole mask accidentally.
Step 5: Let the paint dry for 30 minutes
After you are done painting, wait for around 30-40 minutes. This time period will let the painting dry. Keep it away from your pet or children if there are any. As you have painted with two sets of coating, it will probably take some time to get dried fully. After half an hour, look at the mask and see if it is still wet. Once the masquerade mask has become dry, it is time to add the details.
Step 6: Attach the extra parts on the masquerade mask
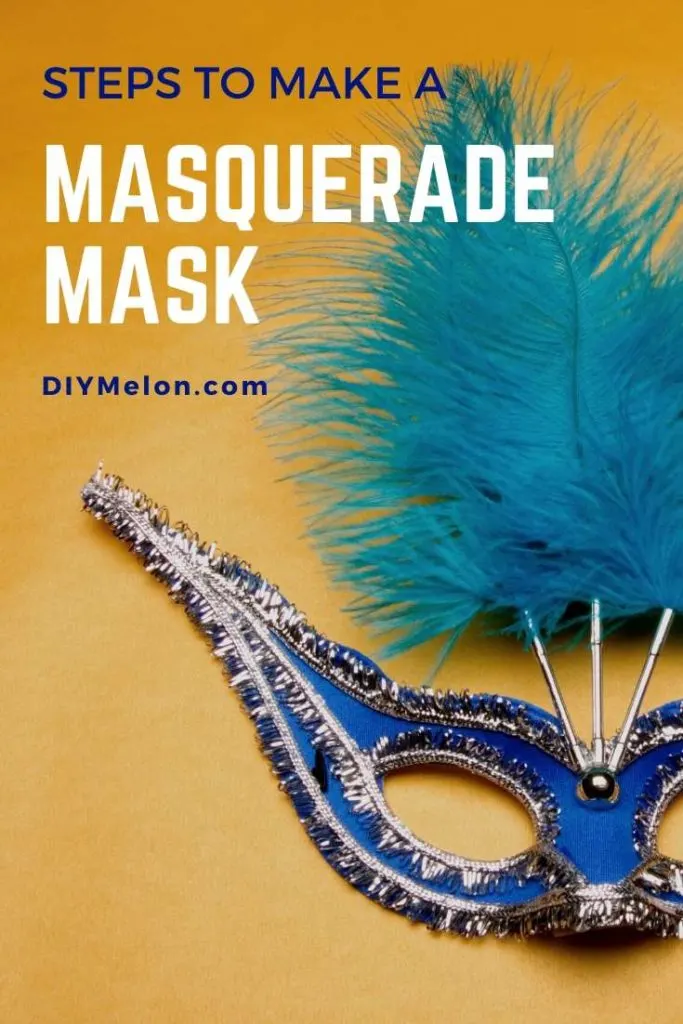
After painting and drying, you will need to glue the extra parts like glitter, gems, ribbons, feathers, etc. on the mask. You can always use regular glue to attach the parts. the more decorative parts you attach to the mask, the better it will look.
The decoration of the mask depends on your preference. If you like to keep it simple, then don’t add too many extra parts in the mask. On the other hand, if you are preferring a gorgeous masquerade mask, then you will need to add a lot of extra parts on the mask.
Step 7: Attach a handle in the masquerade mask
Once you are done decorating the mask, it is time to attach a handle in it. You will need to make a sturdy handle so that you can hold the masquerade mask comfortably during the party. You can attach the handle in the middle or on one side. It depends on your comfort.
You will also need to determine the size of the handle. You can add a handle which is around 6-7 inches long. If you are not comfortable with a handle, you can always use a string in the back of the mask. You will need to use glue to attach both these in the masquerade mask.
These are the steps that will help you to make a beautiful masquerade mask. You can always customize the designs and patterns of the masquerade mask. Always use a color that matches your personality.