You can make a free-standing pallet wall with wood or vinyl. Freestanding pallet walls are often used as a room divider or fence in the backyard.
If you know how to build a free-standing pallet wall, you will be able to use the space from your large room more efficiently.
If you have a kid, a free standing pallet wall will serve you well.

You can divide your bedroom into two parts where your toddler can sleep on one side, and you can sleep on the other side of the wall.
A free standing pallet wall can be used in different ways like building a fence or using it as a free standing display wall etc.
You will need a few tools and materials to make a useful as well as an aesthetic piece of the woodwork for your house.
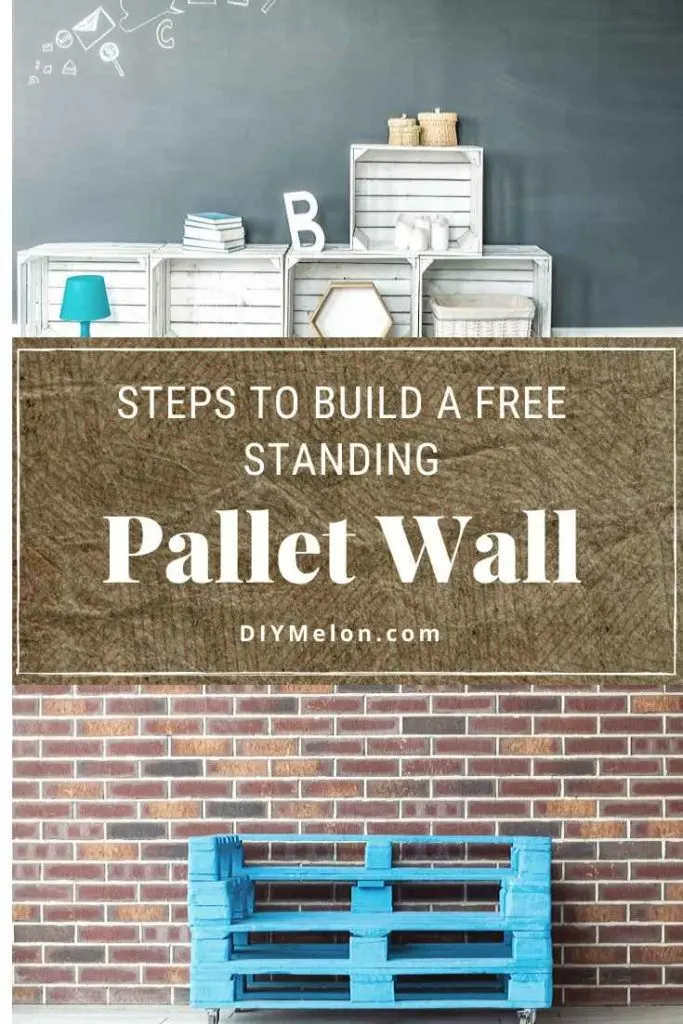
You can even decorate and paint the free standing pallet wall in different ways to give it a vibrant look.
I’ve made a free standing pallet wall for my living room, which has been there for a few months, and everyone loves the decoration and the purpose it fulfills.
Below, a step by step guide has been provided to help you build a free standing pallet wall on your own.
How to Build a Free Standing Pallet Wall
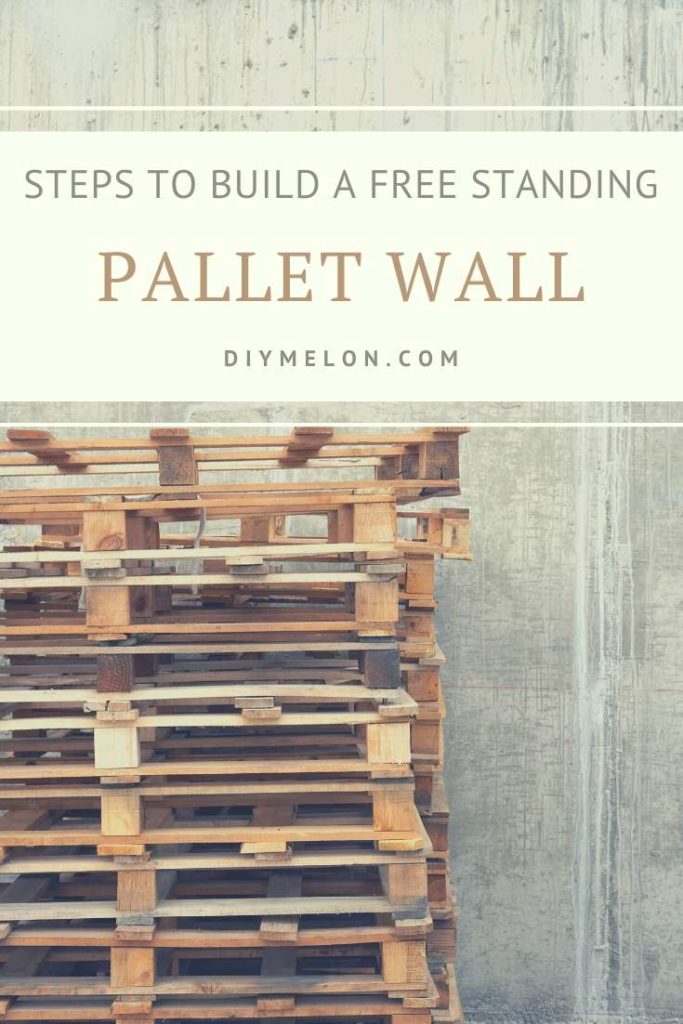
Step 1: Gather the necessary tools and supplies
You will need a few things if you want to make a free standing pallet wall. Get a saw to cut the pieces of wood.
Also, 80-grit sandpaper to make the wood pieces smoother. Then, you will need a few bolts, nails, screwdriver, electric drill, and wood glue.
With all these tools and supplies, you will be able to make a free standing pallet wall.
Step 2: Determine the length of the free standing pallet wall
At first, you will need to determine the size of the pallet wall. Usually, free standing pallet walls are made similar to the height of doors.
You won’t need to make it larger if the larger length does not serve any purpose. Now that you have determined the height of the pallet wall, you will need to cut a few pieces of wood.
You will need a handsaw for this step. Cut two pieces of pinewood to make the bottom and top plates of the free standing pallet wall.
Step 3: Install a few studs and make the corners of the wood pieces smoother with an 80-grit sandpaper
Lay the plates that you have cut side by side. You will need to install a few studs keeping a gap of at least 15 inches.
Now, you will need to count the number of studs you are going to place. Based on this number, you will need to make the cuts.
To remove any type of burrs in the wood pieces, use sandpaper. 80-grit sandpaper should work well to smooth out the wood pieces.
Step 4: Drill the plates and make holes to place the screws
For the next step, you will need an electric drill along with a 1/16 inches drill bit. Lay the plates of the frame in a way the wider sides of the plates are placed on the upper side.
You will need to drill the places you have marked before for studs. At each stud, drill two holes so that you can place screws in here later.
Now, you will need to install a screw tip, as well. Then, apply some wood glue on the studs. Repeat this process for each stud marks.
Step 5: Arrange the pallets
Take one plate from the two and use it as the top plate for the free standing pallet wall. Now, take a sheet of the paneling and place it on the studs.
If there is any extra paneling left, remove it with a utility knife. Now comes the final steps of the process.
You will need to arrange the pallets to make the free standing pallet wall. The challenge is to place the pallets and arranging them together.
You will need 3-inches bolts for this step. Take a hammer and use these bolts to arrange the pallets.
Step 6: Double the width and height to make a free standing pallet fence
You can use this as a fence as well. You will only need to make the whole free standing pallet wall a bit larger.
If you are planning to cover a side of your house with a free standing pallet wall, you can use this as a fence. You will need to extend the height and width of the free standing pallet wall.
It will provide you more privacy if you want to spend some quality time in your backyard or have time in your hot tub.
These free standing pallet walls can be used in so many different ways that you will be happy once you make one.
Step 7: Decorate the free standing pallet wall
You can also decorate the pallet wall by adding little details and by painting the pallet wall. If you want to paint the pallet wall, make sure that the color compliments your room.
Or, you can use the free standing pallet wall as a freestanding display wall. You will only need to build a few extra sections on the wall where you can put little showpieces.
You can also hang pictures on your freestanding pallet wall. Print a few pictures of your friends and family and hang it on the wall.
These free standing pallet walls become very useful during Christmas and Halloween. You can make a wall with a theme that will make your party a unique one.
These are the steps that will help to make a free standing pallet wall. Once you make one, you will see how easy it is to make and how useful it can be.
You can purchase free-standing walls, but it will cost you a lot. Why would you spend money where you can build one on your own?