Who doesn’t like cups, and canvases that have their actual photos printed on them, right? It makes for a great gift for people of all age groups.
That being said, you might be wondering if you can mod podge actual photos on your own.
You might also want to know how to mod podge actual pictures on different items. Let’s find the answers to all your questions about using mod podge for actual photos.
Can you mod podge actual photos?
You can mod podge actual pictures in a matter of minutes with minimal effort. In fact, you can attach pictures using mod podge on about any dry and plain surface. The surfaces in which you can use mod podge for actual photos include glass, wood, metal, paper, and even fabric.
Table of Contents
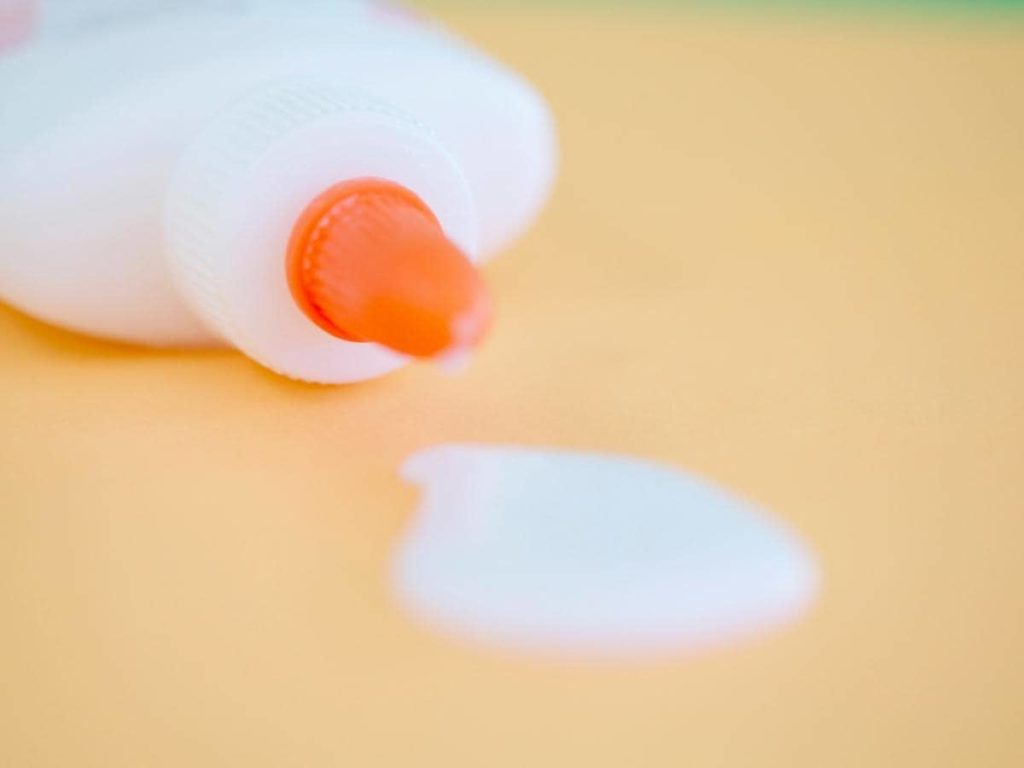

You can most definitely mod podge pictures. However, the paper on which the picture is printed needs to be of high quality so that it doesn’t lose its quality due to the thick layer of mod podge.
As long as the picture is of top quality, you can mod podge it without any issues.
By using mod podge you can attach and transfer pictures on about any surface. That being said, you might still specifically want to know on which surfaces you can attach pictures using mod podge.
Have a look if you can mod podge actual pictures in these materials:
On wood:
Wood is one of the best surfaces to mod podge actual pictures. This is due to the fact that the surface of wood usually remains flat and it has minute holes in it which consumes the mod podge.
As a result, the mod podge sticks to the wood surface very well, which also ensures that the picture remains in place.
On glass:
You can mod podge pictures on glass, but not directly. You will have to use the decal method to do so. In this method, you will have to print pictures on the printer paper and then apply mod podge over it to attach it to the glass.
On canvas:
You can mod podge actual pictures on canvas without any issues and with very little effort and time. However, you should apply the mod podge picture transfer medium on photos that are professionally printed on a laserjet printer.
Is mod podge safe for photos? Does Modge Podge dry clear photos?
Mod podge is completely safe for pictures. If you apply the mod podge picture transfer medium on the picture, the quality of the picture won’t degrade.
The picture will remain as it was at first after the mod podge dries off. In fact, it serves as a protective layer on the pictures and does not require a finish.
That being said, if the pictures are printed from an inkjet printer, the ink can smear a bit when the transfer medium is applied. So, you should always make sure that the picture is store printed, color copy or laser printed so that the picture doesn’t smear.
The picture in which the mod podge transfer medium is applied will have a clear, and matte finish after it dries off.
After the mod podge on the picture dries off, it will have a matte-like finish and will look more vibrant against colored backgrounds. It serves as a protective layer and does not require a finish.
3 reasons why you can mod podge actual photos
There are various reasons why you can mod podge actual pictures. You can do it to protect the pictures and preserve them for a long period of time. You can also do it to create a matte finish, and to attach the pictures to any surface for gifts.
Let’s take a look at three of the most significant reasons why you can mod podge actual photos.
Preserve pictures:
The mod podge other than a photo transfer medium also works as a protective layer. It creates an additional layer above the picture, which keeps it safe from dust and dirt.
So, by painting mod podge over the pictures, you can preserve the pictures for a long period of time.
You can also use mod podge on pictures to regain its lost shine. This is possible because the mod podge creates an extra layer that brightens up the picture and makes it look more vibrant.
To create a matte finish:
The mod podge transfer medium will give your picture a matte and clear finish after it dries off. The matte finish will make the picture look more exquisite over colored backgrounds.
For gifts:
One of the major reasons for painting mod podge transfer medium on pictures is to stick the photos on various surfaces like canvas, wood, glass, and more. You can make any custom gift by applying mod podge on actual pictures.
What mod podge to use for actual pictures on wood?
You should use the mod podge photo transfer medium for actual pictures on wood. With this type of mod podge, the wood grain won’t be seen through the picture. The picture will be totally opaque and smooth with this mod podge.
However, if you want the picture to be semi-transparent on wood and want the wood grain to show, you should use a regular mod podge.
With this mod podge, the picture can sometimes be more transparent than you expect as its texture is quite heavy.
You should also use the right type of picture while painting mod podge over actual photos on wood. The pictures which are printed by a laser printer on regular paper are best for applying mod podge.
The laser-printed picture will prevent the wood grains from becoming visible on the picture.
How to mod podge an actual photo?
Applying mod podge on an actual photo is not as difficult as it may seem to you at first. You can do it with minimal effort and time. To do it in the right way, you should follow the proper steps.
Let’s find out how to mod podge an actual picture step by step.
Print your picture:
First of all, print your picture on regular paper. You shouldn’t use photo paper, because the ink may run if mod podge is applied. The coating of the photo paper can also cause interference to the mod podge.
Trim the picture:
You should cut off the blank part of the paper using a paper slicer or craft blade. While trimming the picture, make sure not to damage the actual content of the photo.
Brush mod podge to the picture:
Use a wide paintbrush, or a foam brush to apply mod podge on the trimmed picture. You can apply mod podge on both the front and back of the photo to make it stick better to the surface of the item.
Place the photo on the item face-up:
After applying mod podge on the picture, you should put it on the items’ surface face up. You can use a rubber roller to make the picture smooth on the surface.
Begin rolling from the photo’s center and work your way outwards and make sure that there are no bubbles.
Let the mod podge dry completely:
After placing the picture, you should let the mod podge dry completely and make the picture stick perfectly to the item. It usually takes a couple of hours to a couple of days for the mod podge to dry off.
How do you Mod Podge real pictures to wood?
You can mod podge real pictures to wood quite easily as long as you do it in the right way.
To mod podge actual pictures on wood, you will first have to choose a wooden object. While choosing the wood, make sure that its surface is flat and smooth. You can also sand down the wood to make the surface and edges smoother.
After getting the perfect wood piece, apply a mod podge of a thin texture on it. To apply the mod podge on wood, you should use a paintbrush or a foam brush.
Then place the picture face up on the wood. You should apply another thin layer of mod podge on the picture to make it stick sturdily.
You should wait half an hour before applying the next coat. After applying the final coat of mod podge, you should let it dry for at least a day.
Final Thoughts
You can mod podge actual pictures without any issue. However, you should avoid applying mod podge on photo papers as it can shrink and color can spread a bit. To get the best outcome, you should apply mod podge on actual photos that are printed on regular pages with a laser printer.